Is Your AI Art Too Flat? 5 Directing Techniques to Steal the ‘Gaze’ (Comparison Prompts)

When AI art looks flat, it is usually not a lack of detail.
It is because you haven’t decided ‘where the viewer should look.’ In this post, I have organized 6 visual guidance techniques that actually worked, ready for you to use immediately with Before/After prompts.
‘One-Point Focus’ + Density Difference
There is a method commonly used by professional illustrators. Focus on one motif you want to show, render only that area with high density, and intentionally relax the rest.
Comparison Prompt Experiment: Before vs. After
1. Focus: Flat Listing vs. Character Emphasis
Before (Simple Listing)
anime screencap, 1girl, standing in street, detailed background, daylight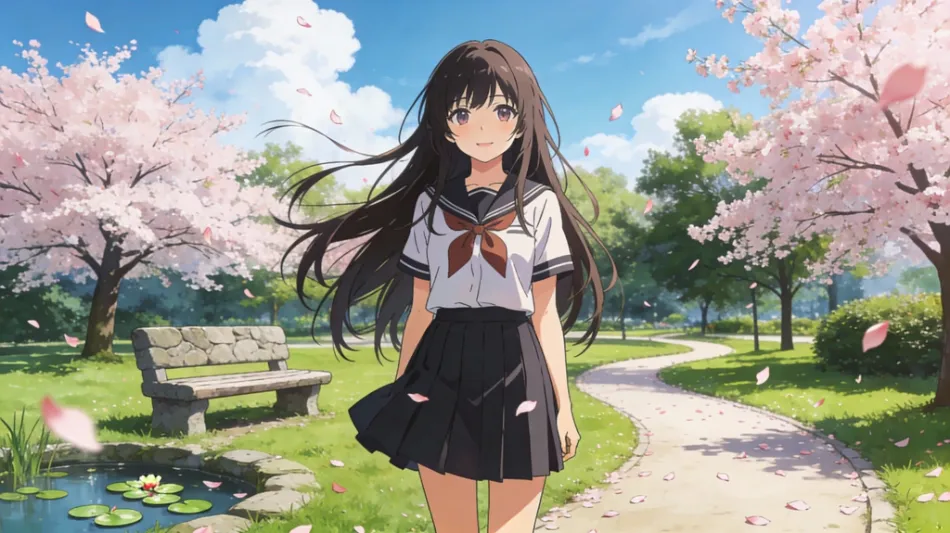
After (Applying Gaze Guidance)
anime key vusual, 1girl, standing in street, focus on face, shallow depth of field, blurred background, bokeh, rim light, cinematic composition

Point: I used ‘Depth of field’ and ‘Blur’ to blow out background information and force the gaze to move to the character, especially the face.
Editing Prompt: Focus (Depth/Blur)
focus on face
shallow depth of field
blurred background
bokeh
rim light
cinematic composition
2. Lighting: Flat Light vs. Dramatic Contrast
Before
anime key visual, fantasy warrior, holding sword, forest, lighting
After
anime key visual, fantasy warrior, holding sword, dramatic lighting, chiaroscuro, volumetric lighting, dark background, strong contrast, glowing sword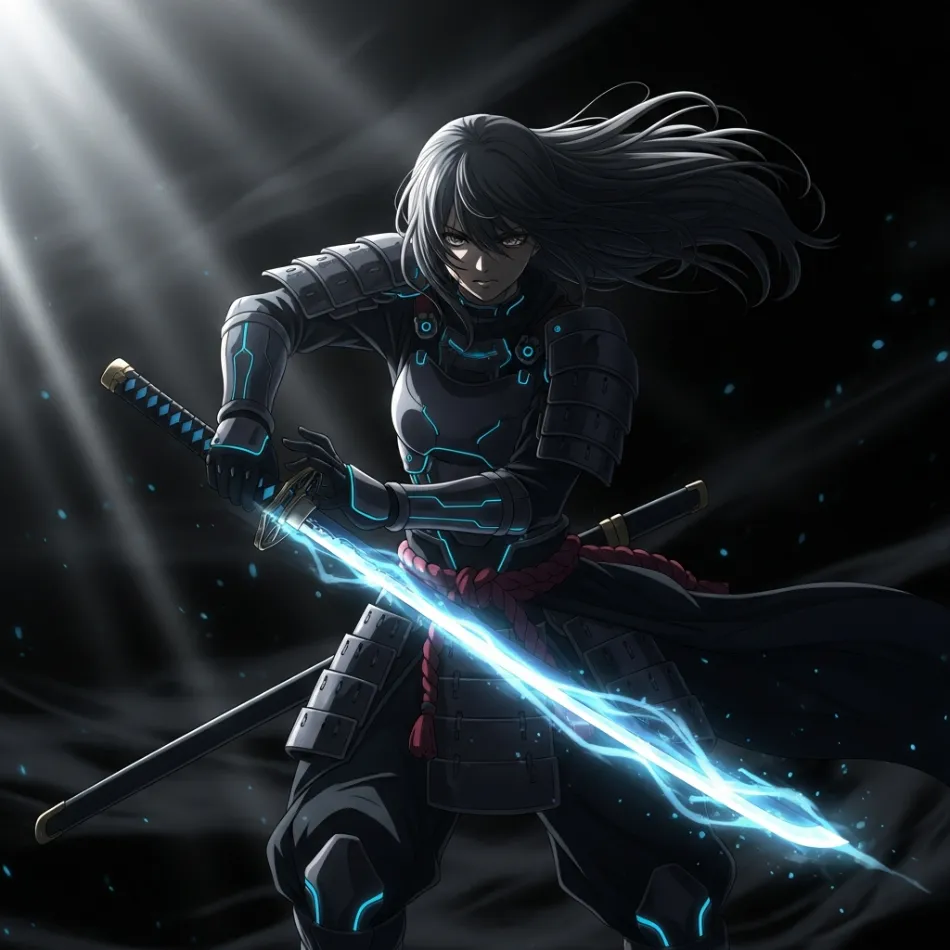
Point: If you increase the ‘Contrast’, the gaze is automatically fixed on the bright subject.
Editing Prompt: Lighting/Contrast (Dramatic Light)
dramatic lighting
chiaroscuro
volumetric lighting
dark background
strong contrast
3. Adjusting Information Density: Too Much Background vs. Beauty of Negative Space
Before
cyberpunk girl, detailed neon city, shops, cars, crowds, complex detailsAfter
cyberpunk girl, neon city, negative space, simple background, minimal composition, rule of thirds, atmospheric
Point: Simplifying the background makes the character’s silhouette stand out. This is the power of negative space.
Editing Prompt: Density (Negative Space/Minimal)
negative space
simple background
minimal composition
rule of thirds
atmospheric
4. Color Contrast: Subtraction of Saturation
Before (Color Overload)
colorful anime girl, colorful flowers, rainbow background, vibrant colorsAfter (Applying Saturation Contrast)
anime girl, red eyes, vivid red dress, monochrome background, greyscale world, color splash, selective color, muted tones
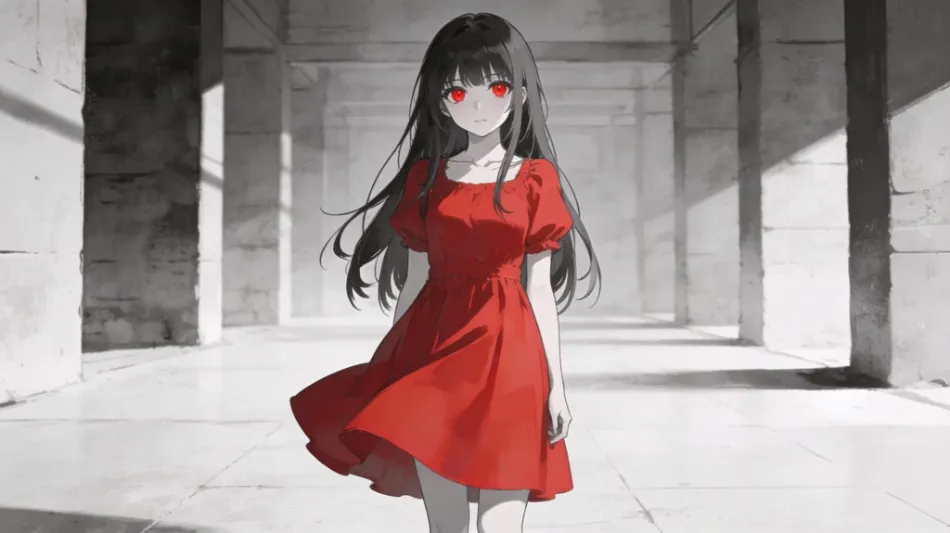
Point: This is a technique to forcefully fix the gaze by draining the background saturation and leaving high saturation (Vivid) only on the subject.
Editing Prompt: Color Contrast (Desaturation/Selective Color)
monochrome background
greyscale world
color splash
selective color
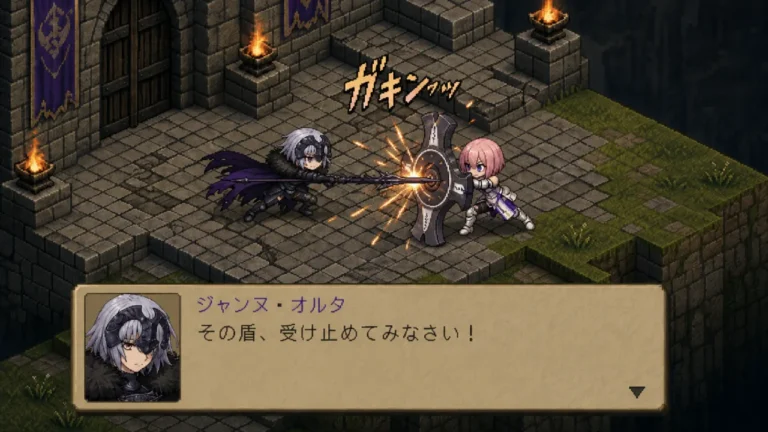
muted tones5. Interaction: Simple Observation vs. First-Person View (POV)
Before
girl standing, hand upAfter
anime key visual, girl, reaching towards camera, touching viewer, point of view, pov, hand reaching, blur foreground, looking at viewer
Point: Instead of just standing there, increase immersion with a POV (First-Person View) direction where she reaches out to the viewer outside the screen or seems to be talking to them.
Editing Prompt: Interaction (POV/Camera Approach)
reaching towards camera
touching viewer
point of view
pov
blur foreground
looking at viewer
6. Perspective: Honest Proportions vs. Dynamic Distortion
Before
warrior holding giant hammer, full bodyAfter
anime key visual, warrior holding giant hammer, fisheye lens, exaggerated perspective, huge weapon in foreground, dynamic angle, foreshortening
Point: Using a Fisheye lens or exaggerated perspective to draw the weapon or hand larger than the face adds impact. Exaggerating perspective gives power to the image.
Editing Prompt: Exaggerated Perspective (Lens/Distortion/Impact)
fisheye lens
exaggerated perspective
huge weapon in foreground
dynamic angle
foreshortening